
If you know me or keep eyes on the site I’m a gamer but I’d say more on the casual side compared to my colleague Mike who is the most hardcore on the site. I have always veered in the console lane for most of my life but have been interested in low priced gaming PCs for quite some time. And when I mean gaming on a PC, not your usual everyday laptop or PC where you can play some Candy Crush or nowadays Fortnite as it isn’t memory intensive. Mike built his last year, so I enlisted his help on the best way of going about creating one for myself and if it could change my mind on PC gaming.
Now you can always go about getting a pre-built PC from TechFast Australia and that’s always good, but I was intrigued to see one from the ground and seeing all the kinks and what goes into making one. I have replaced and added parts on PCs but never barebones from scratch. In this case I enlisted the help of Mike as he can pretty much create these machines in his sleep.
To help with this build we reached out to various vendors such as AMD, Hyper X, Western Digital and Seagate to help get some of the key pieces to make this gaming build work.
What your Wallet Looking Like?
My budget was the single most important concern going into the build because that would ultimately determine what games I can play and how I would be able to futureproof my machine for at least 3-4 years before I have to upgrade. The PC gaming landscape is always changing and new parts and advancements are continuously taking place. So striking that balance was important while staying in budget. Ideally, I was aiming for a decent price range around $1000-1100 though in case readers had interest in mirror this build as well. Although, after all parts were put together I went a little over but the build was still very afforable and doable for a mid range gaming PC.
What Route to Go in?
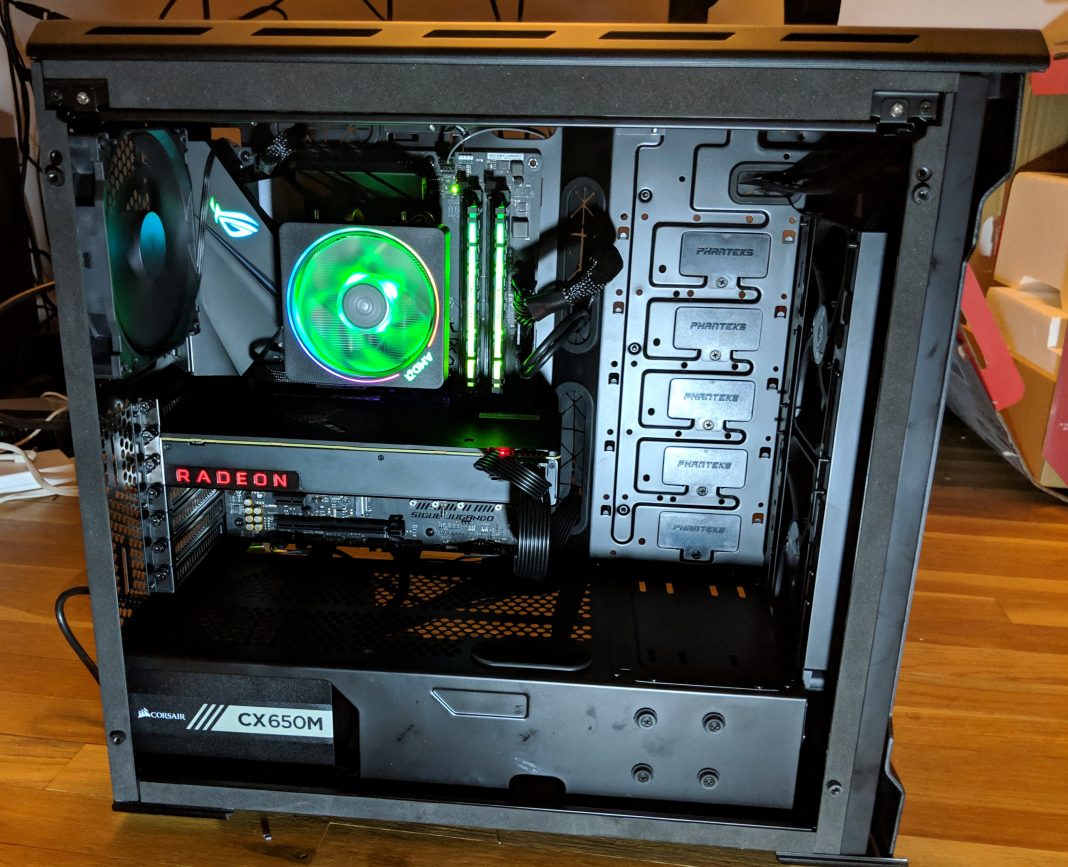
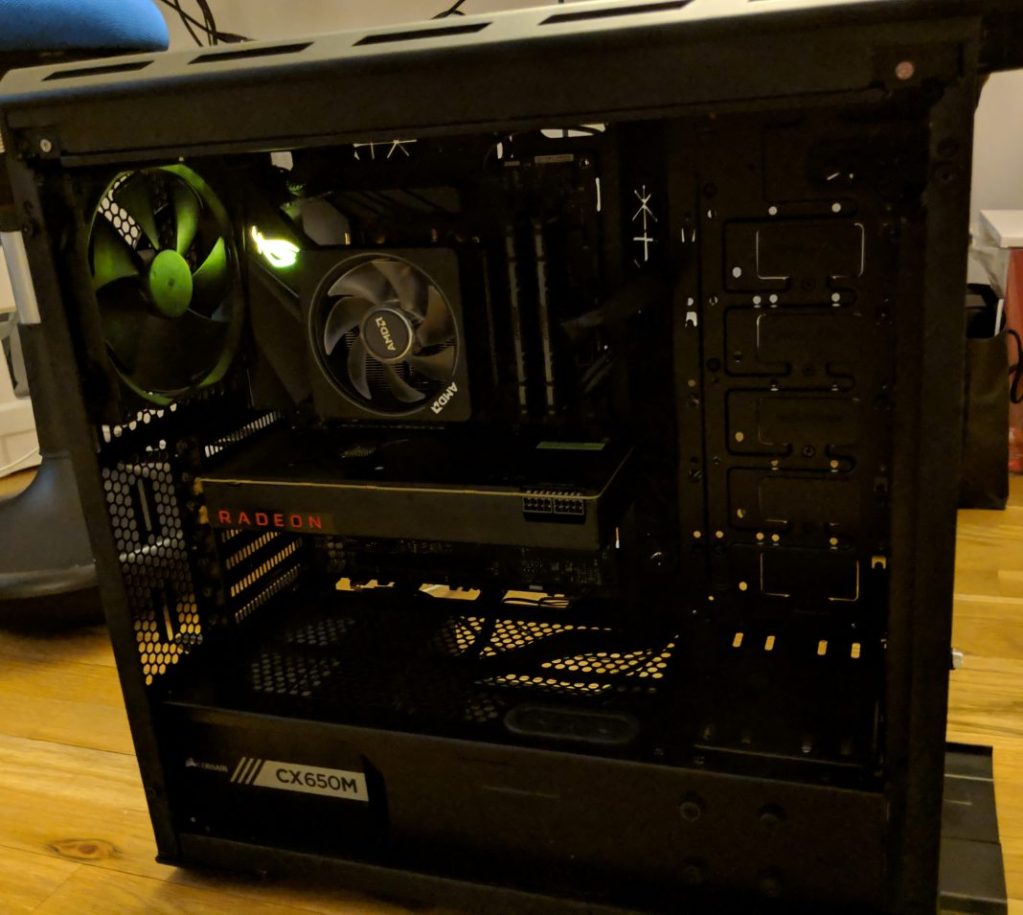
One of the first crucial steps to make in building a PC is if you want to go AMD or Intel. This will have an effect as far of what motherboard, CPU and GPU to acquire. Ultimately, we decided to in the AMD route and AMD was nice enough to supply us with a Ryzen 7 2700X CPU processor which includes a Prism LED Cooler fan. Next up was the Sapphire Radeon RX Vega 64 GPU thankfully also provided by AMD. So, we had the two main components and needed to get a compatible motherboard for the AMD Ryzen. ASUS’s ROG Strix B450-F Gaming motherboard was a suitable choice for the Ryzen 7 which also included a plethora of ports with HDMI, VR compatibility, and has Aura Sync RGB which you can customize.


You Need Power
Of course, to get all this running you need to get a PSU that can handle all the power coming from the GPU and CPU. Like in the prior build we settled with Corsair and their CX650M PSU which is Bronze Certified and 650 Watts. It didn’t break the bank too much either. Also, good thing about Corsair is they include all the possible cables you may need for a PC build. Plus, they aren’t hard wired, so you won’t have a mess of unused cables being tucked away in your PC case.
For the OS I’m going to be using Windows 10 Pro, but I need somewhere to save it and run it off. Western Digital hooked us up with a 1TB WD Black NVMe SSD. SSDs are more expensive than SATA HDDs but they tend to run faster and are more reliability. While 1TB is a nice amount of space to run Windows off, I felt if I was gaming I would chip away at that amount quickly. Funny enough this happened in the first iteration of this build and spoke with Seagate that supplied us with their FireCuda 2TB SSHD. This is the 2.5” model more known for being within PCs but it still does the job as far as saving storage and loading games is concerned. FireCuda has gaming in mind first and definitely shows. Adding some additional color to my build is 16GB(Kit of 2) of Hyper X Predator DDR4 RGB RAM. Gives my system that needed power and keeps things running smoothly.

Finally, is you need a case to put all this hardware in. Now cases can vary on taste ranging from minis all the way up to full on towers. We ended up with an Enthoo Evolv Tempered Glass case by Phanteks which might be vast in size for some but its equipped with so many features its uncanny. There is a multitude of fans for cooling, dust filters, tempered glass to see your masterpiece in action, and various openings for delightful cable management. There is brackets and areas if you want to add a reservoir mount in the future too.
Putting it Together, Up and Running
Once I was able to get all the necessary parts, Mike was able to start his assembly of my first gaming PC. Watching him go about it from the ground was an eye opener and gave me more respect for the PC building industry. Nowadays it’s a lot easier to build a PC but there are still some things you must be aware of such as cable management, placement of parts and not going extreme on thermal paste as we seen others do elsewhere. You also have to be meticulous, neat and pay attention to details. Anything can happen and it won’t take much to fry your machine when you power it on for the first time if you’re not careful.
It took some time, trial and error but eventually got it up and running. Best thing about creating a PC from scratch is you get to learn more about your device personally and understand the inner workings of it, well sometimes.
Now on to the Games
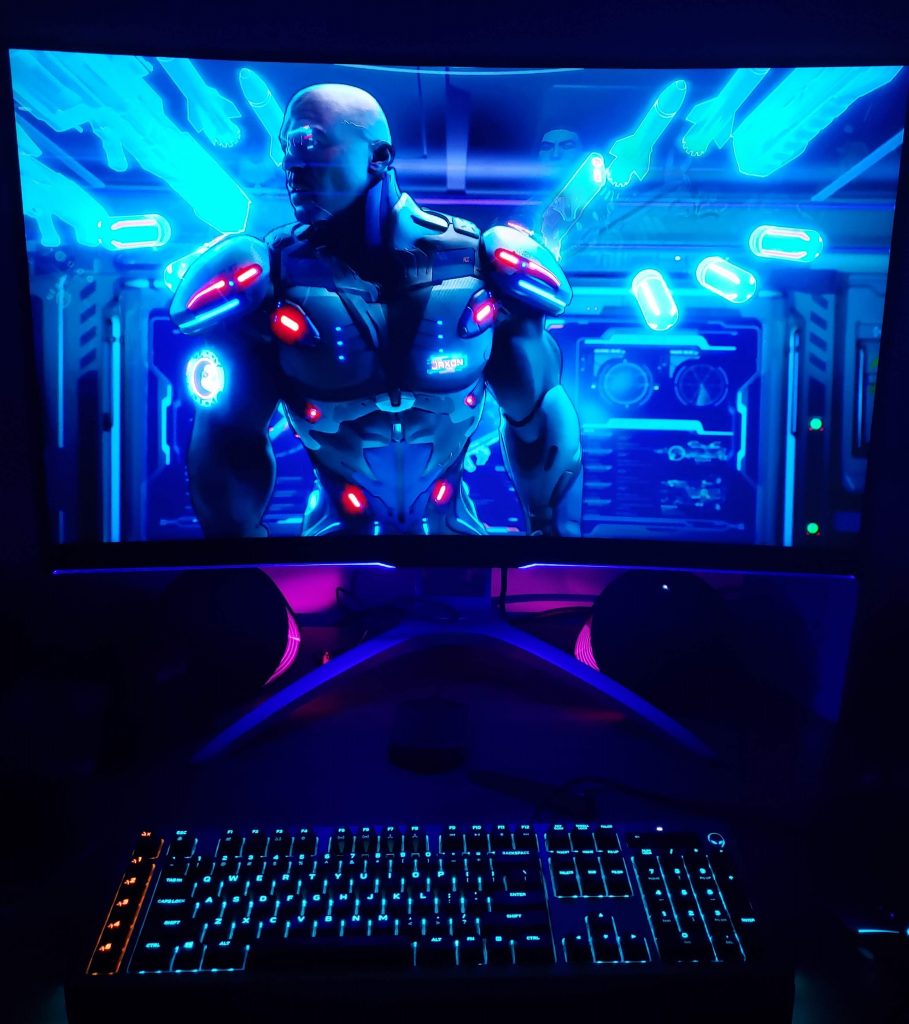
Windows 10 Pro is running like a champ and downloaded my usual productivity apps, but I needed to see if this worked for what it is built for… Gaming. I downloaded a laundry list of games such as Forza Horizon 4, Mortal Kombat XL, GTA V, Injustice 2, Borderlands 2, Dead by Daylight, Crackdown 3, Apex Legends, Fortnite and others and first thing I said was “I can’t believe I been missing out”. Games look gorgeous and run so smooth with no zero lag. The lengths of customization you can do is uncanny especially with mods. The fact I can plug in a Xbox One controller and do my usual gaming makes me feel right at home as if I was on a console.
Should You Build?
You are wondering is it better to build a PC from scratch or get one premade from one manufacturer? Really depends on how hard you want to game and what your money is looking like. Also might make it easier to understand what’s exactly in your machine and if you want to swap in and out components it won’t be too much a problem. If you have the time, effort and or great friends to help you achieve this I’d say take a stab at it.
List of Parts:

- Motherboard – ASUS ROG Strix B450 F Gaming – $120
- Case – Phanteks Enthoo Evolv ITX or ATX Glass -$80
- Processor – AMD Ryzen 7 2700X – $254
- GPU – Sapphire Radeon RX Vega 64 $300-400
- RAM – Hyper X Predator RGB DDR4 2x8GB – $120
- PSU – Corsair CX650M – $65-80
- Main Storage – WD Black NVMe SSD 1TB – $250
- Addtl Storage – Seagate FireCuda 2TB – $100
- Monitor – AOC AGON AG322 QCX
- Keyboard / Mouse – Alienware AW768, Alienware AW958
- Speakers – Logitech G G560
- Desk – Uplift Standing

