
Hope you were as excited about the lights as I was. If you have set up some smart lighting in your home, you will slowly start to see the benefits after you have retrained yourself not to flick the switch off lol. But to fully maximize the potential of those new smart lights, you need some automation. This by far will be my favorite part of the series, and will no doubt have follow up posts based on this part of the series. But what can automation do for us? Right now when we want to turn on a light, while we don’t have to flick a switch we still have to manually push the button in a app to turn lights off/on. This is pretty convenient but not the MOST convenient way we could do this. Automation allows our house to respond and do things based upon actions that may happen around the house. This could be a simple as coming home and opening a door. Or walking into a room, or even based upon the time of the day. Automation takes our house from being convenient to truly being “smart”!

For automation to happen, you are going to need yourself a smart hub. A Smart Hub will be the central point of your smart home and it will talk to the other smart devices in your home. When these devices talk to each other, that is when some real magic can begin to happen. With a smart hub, your smart lock could talk to your lights. Or your lights could talk to your phone, or even still if you have sensor in the home they can talk to a variety of items in the home. When this talking starts to happen, your device can complete actions based on the direction another device has given it. Now when it comes to Smart Hubs I looked at a variety of factors when choosing which one I wanted to install. Above all is price. Right now if you look into Smart Hubs some of the more mainstream ones you might hear about is the Wink system, SmartThings, and Logitech Harmony Home Control. On price the Logitech Harmony Home and the SmartThings hubs were $99. Coming in at the lowest was the Wink Hub which you can find for $40-$50 depending on where you look. I choose to forge ahead with the SmartThings hub. While not the most inexpensive of the group, sometimes cheap doesn’t always mean first choice. SmartThings also offer starter kits based around themes. These themes focus on items you might want to be smart in. This could be lighting, security, smart home, water detection, or energy saving. I had SmartThings send me the Smart Home Kit since this is my ultimate goal. This kit cost about $199.00.
 The SmartThings Smart Home starter kit comes with a Hub, Motion sensor, Presence sensor, and an Open/Closed sensor. I added to this by picking up three additional motion sensors for my home. Now that you know what I have, let’s talk about what I did with it! Setup for the SmartThings system was pretty easy. Once I unpacked it and connected it to power and my home router, I fired up the app and it was able to walk me through the process of setup. I was able to sign up for an account, give my home a name and image to represent my home, as well as set my home location. The home location is definitely needed as it comes into place with the presence sensors and actions based on your location. After this could set up several mode which dictates what happens in the home when this mode is active. I have Away, Home, Night, and Night Night. My suggestion would be to start adding your things to the system first before working on modes. Currently I can’t add my Kevo Smart Lock to the system yet, so the first thing I added was the lights to the system. Now while I do like the SmartThings system, I did have some issues with my Connected by TCP lights, I was able to get it to eventually work (thanks in big part to the support team at SmartThings. Major kudos to them!), it is something you might have to trial and error with. Once (if it hasn’t already by today) it has full integration status this should be much easier. One of the cool things I’ll mention is even if a device doesn’t have full support yet, SmartThings has a great developer community. There are a lot of people who have figured out how to get devices they want to use with the system added by writing custom code. Once the code is published you can follow directions on how to do the same for your system using their code.
 After all the lighting and the sensors (motions sensors and open/door sensors were used) were install, I started with some basic level automation I wanted to happen. I think I will break down automation further in another post as it is just so much. So if you really want to drill down into that, be sure to check for this next upcoming post on it. This will be more of an our of the box simple automation items you’d definitely want to set up if you picked up some of the items I did as well or thinking about it. So the first first thing I set up want lighting controls. Making use of the motions sensors I had, I put them in my master bedroom, daughter’s room, kitchen, and living room. I set up what is called a SmartApp for the various lights in these rooms. This SmartApp states that when motion is detected by the motions sensor, to turn on the lights I chose in that room. For some rooms like the Master Bedroom that could be all the lights, or other rooms like the Living room just two accent lamps in there. Then in this SmartApp is an option to turn the lights off if motion isn’t detected for a certain number of minutes. Setting this option allows the lights to turn off when no one is in the room, therefore not wasting light when not needed. This works out well as my family and I move from room to room but not necessarily turning off the lights when we leave. Now it happens automatically. So by just merely walking into a room the lights come on when we need it and you don’t have to think about doing anything, you just do what you need without worrying about not being able to see. It is truly a small thing, but coming from a place where we had been programmed to flick a switch, or pull a chain after entering a room is very futuristic.
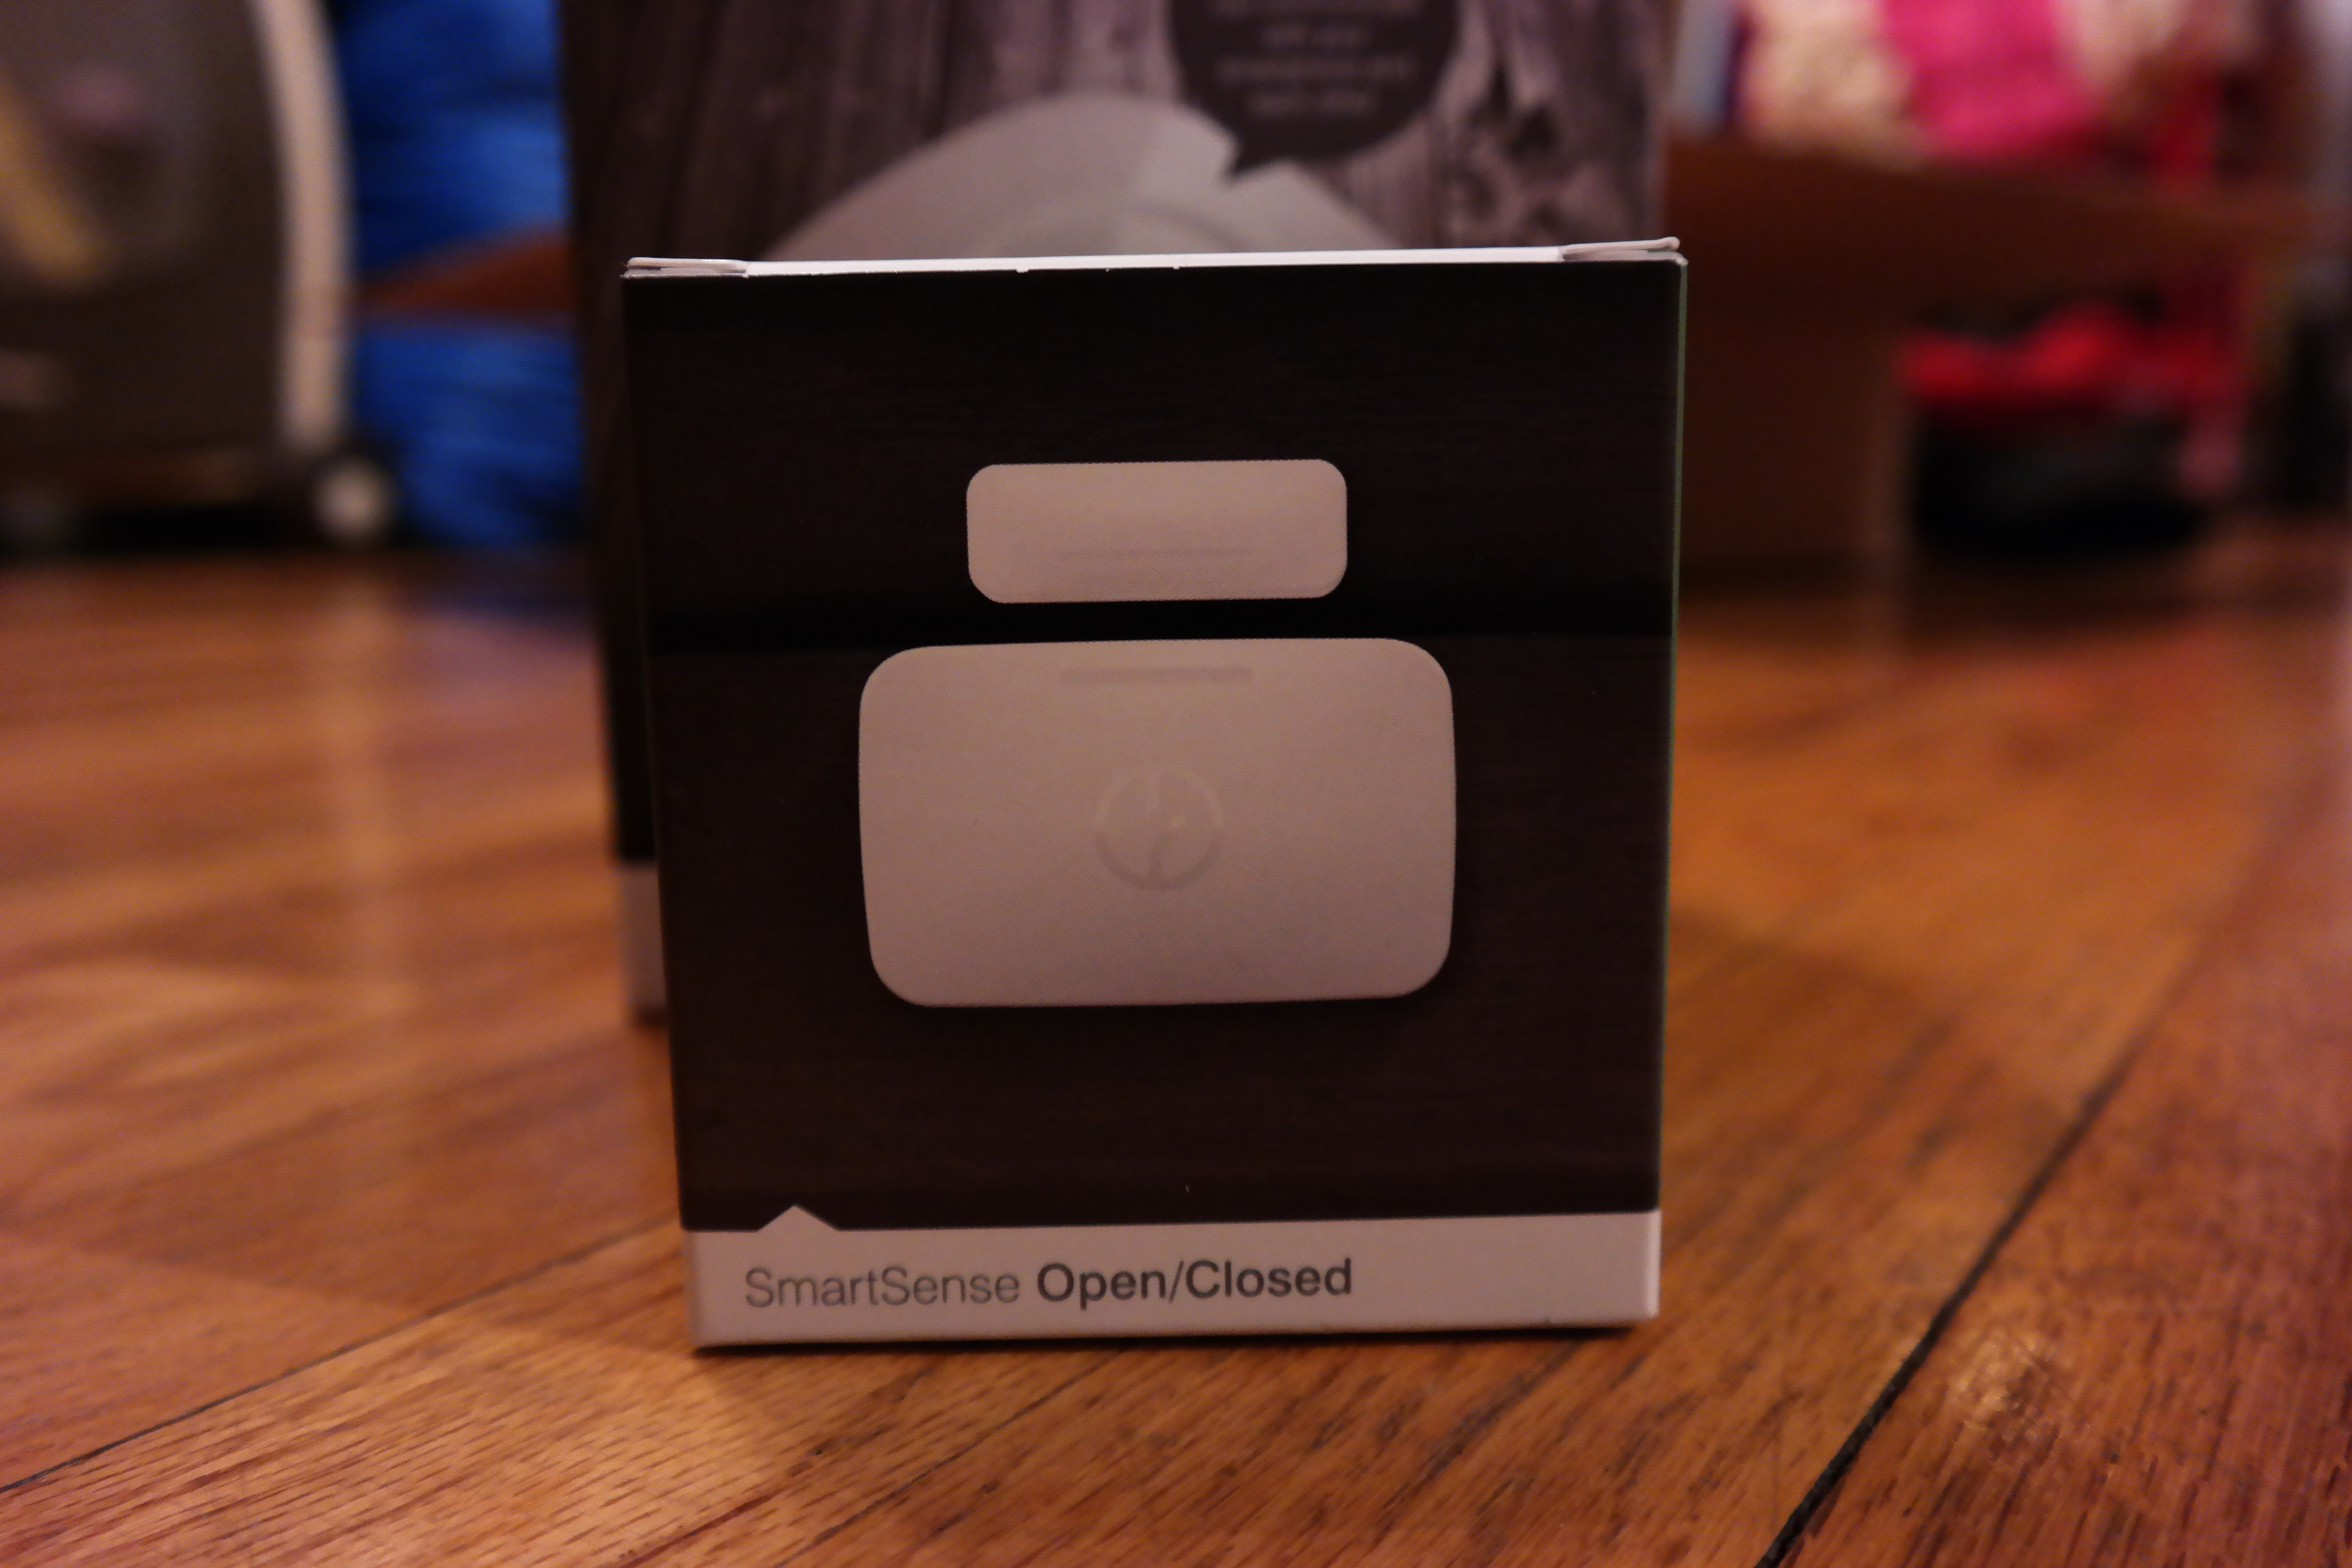 The last item I used from the smart home starter kit was the open/closed sensor. This sensor is two pieces that see each other when they are lined up. This is the closed position, when the piece no longer see each other it is in the open position. I placed this one on my apartment door. So when the door is opened the sensor is triggered. Right now I set up a SmartApp that when this door is opened during a certain time of the day and in the Away mode, it will trigger a house mode change and tell the Sonos PLAY:1 to say a custom message to us. Right now that message is “Welcome Home Family”. This I’ll talk a little more about in a future post involving the Sons PLAY:1, but is a really cool and futuristic thing to have happen. It is like the home is alive and can talk to us when we enter. I’ll dive more into that later on.
So with our first step into automation, I can now have our lights turn on or off on a schedule, or turn/off as we come and go from the rooms. This allows us to now have to think about lighting anymore, but focus on the task you wanted to do in that room solely. Now the lights will come on and off as they are needed. This both saves energy (using lights when needed instead of always just on), and a little bit of time when not having to bother with manually turning on/off items. But I did mentioned at the beginning that “Automation takes our house from being convenient to truly being smart”, in a future post I will be diving deeper into how I have used SmartThings to automate my home, stay tuned!


