

When having steady hands isn’t enough to get the shot (or at least get the shot professionally), it’s time to consider equipment that can help. Recently, I got the chance to try out the Manfrotto MVG220 3-axis gimbal and dive right into the world of videography. A quick disclaimer: I do not pretend to be a professional videographer but someone that’s very early in learning the craft and put this gimbal (and myself) into a trial-by-fire taking up a job for this review.

Key Features & Specs via Manfrotto
- Weight: 2.43lbs
- Dimensions: 2.80 x 8.23 x 13.78 in
- Capacity: 4.85lbs
- Tilting angle 230-degrees
- Rolling angle 360-degrees
- Panning angle: 360-degrees
- Controllable tilt range: 175 degrees to -55 degrees
- Battery life: Up to 7 hours
- Charge time: 1.5 hours
- Connections: Wi-Fi, USB-C, Bluetooth
- Max working temp: 113-degrees F
- Min working temp: 14-dgreees F
- Attachment type: 1/4?-20 standard tripod mount
Gear List
Below is the equipment used for testing the Manfrotto MVG220 Gimbal. This includes equipment on Manfrotto’s compatibility chart as well as my trusty Fujifilm X-T2 which is supported by the Gimbal but not for controlling the camera.
- Fujifilm X-S10 and 16-80mm F/4 lens
- Sony a7 III (a7M3) and Sony FE 55mm f/1.8 lens
- Fujifilm X-T2 with 35mm F/2 and 16mm F/2.8
- Manfrotto Gimboom (carbon fiber boom accessory for gimbal)
Build & Ergonomics

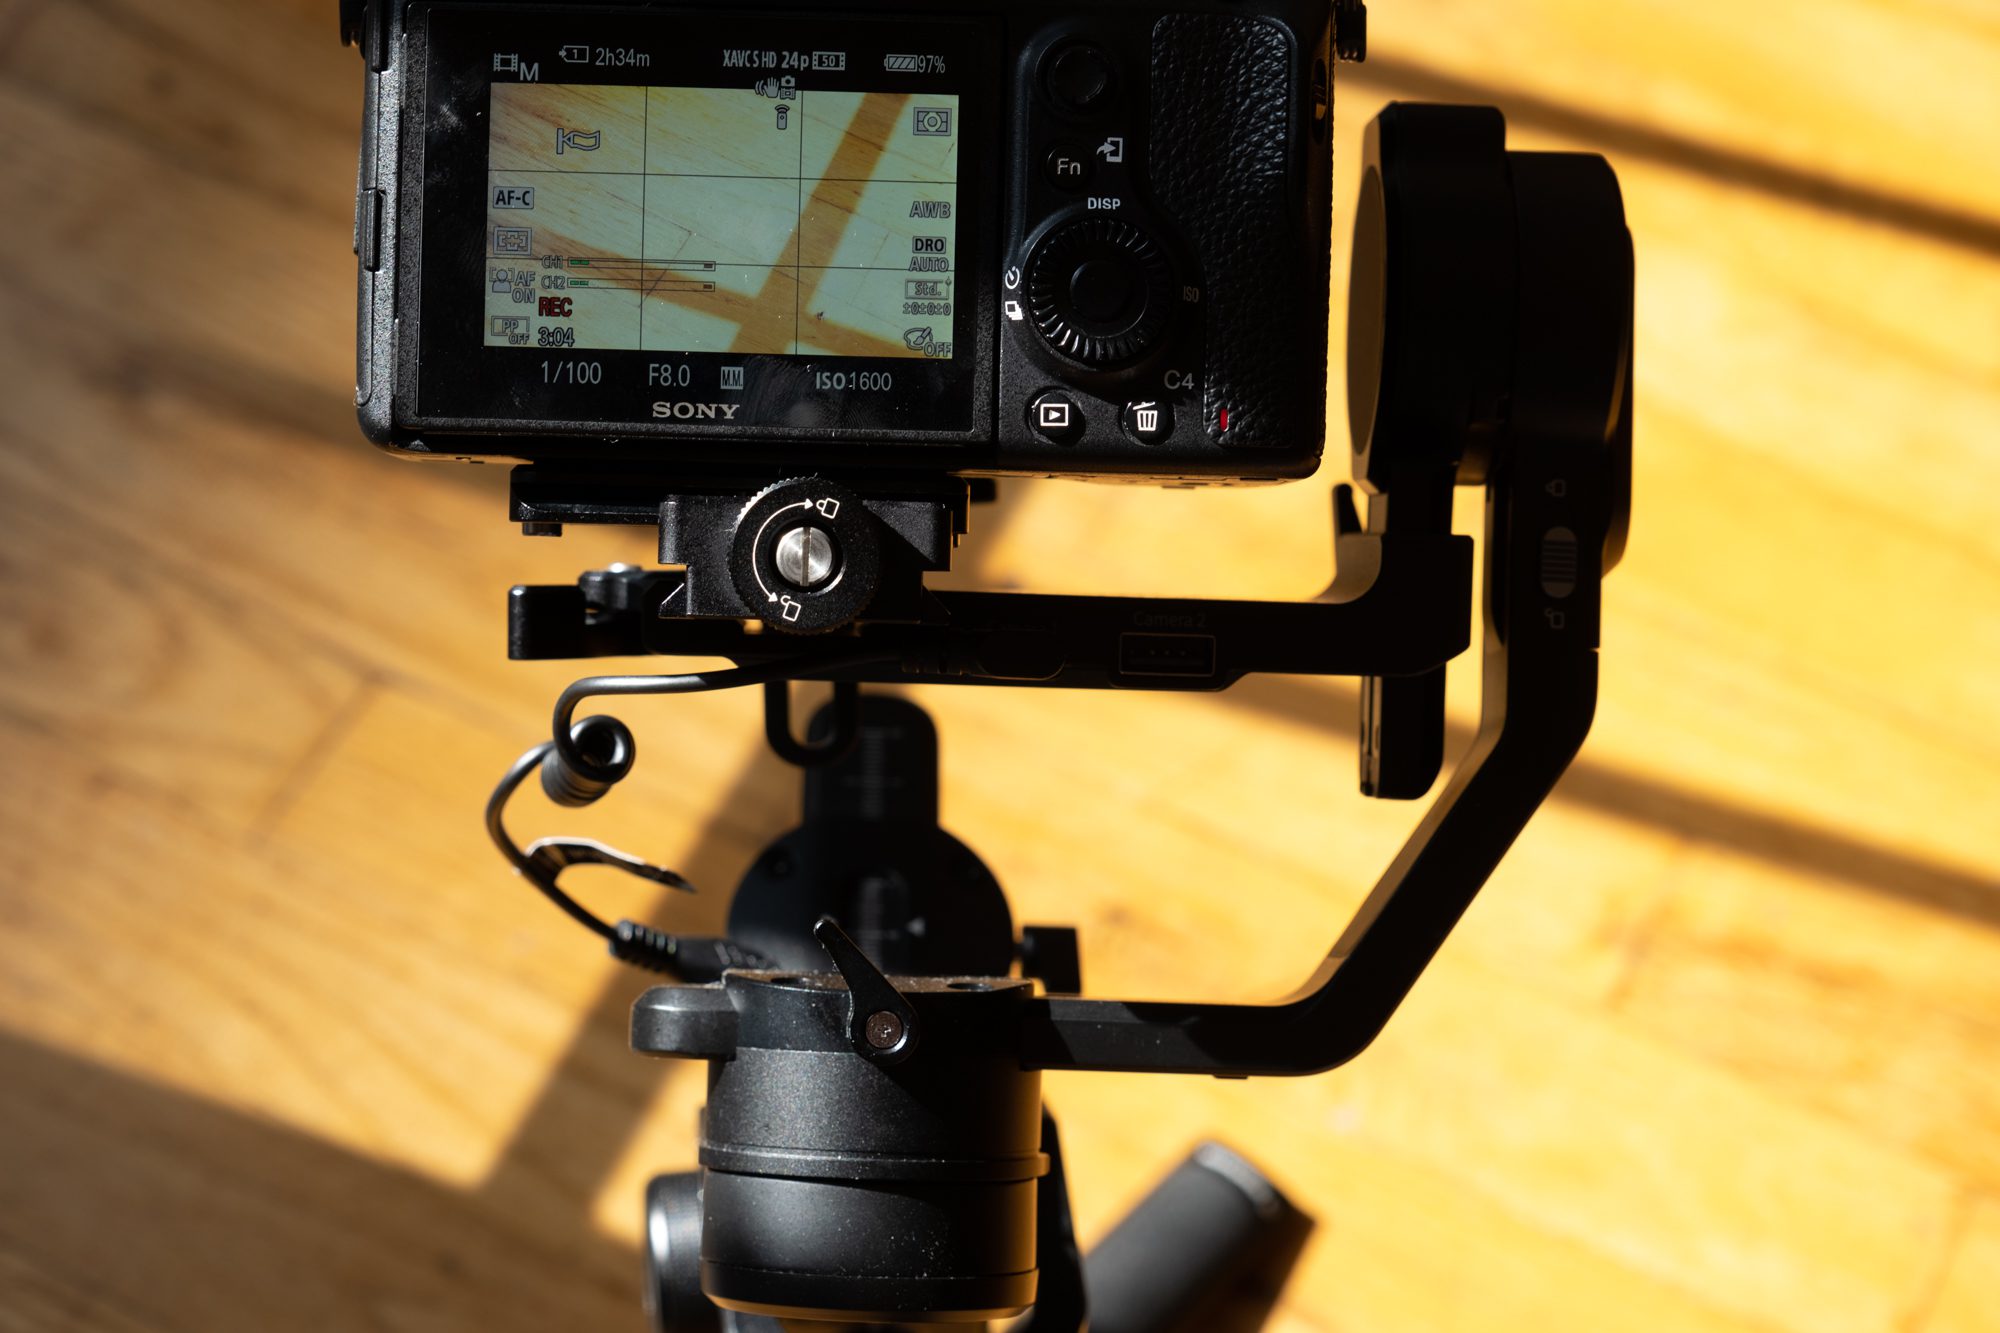
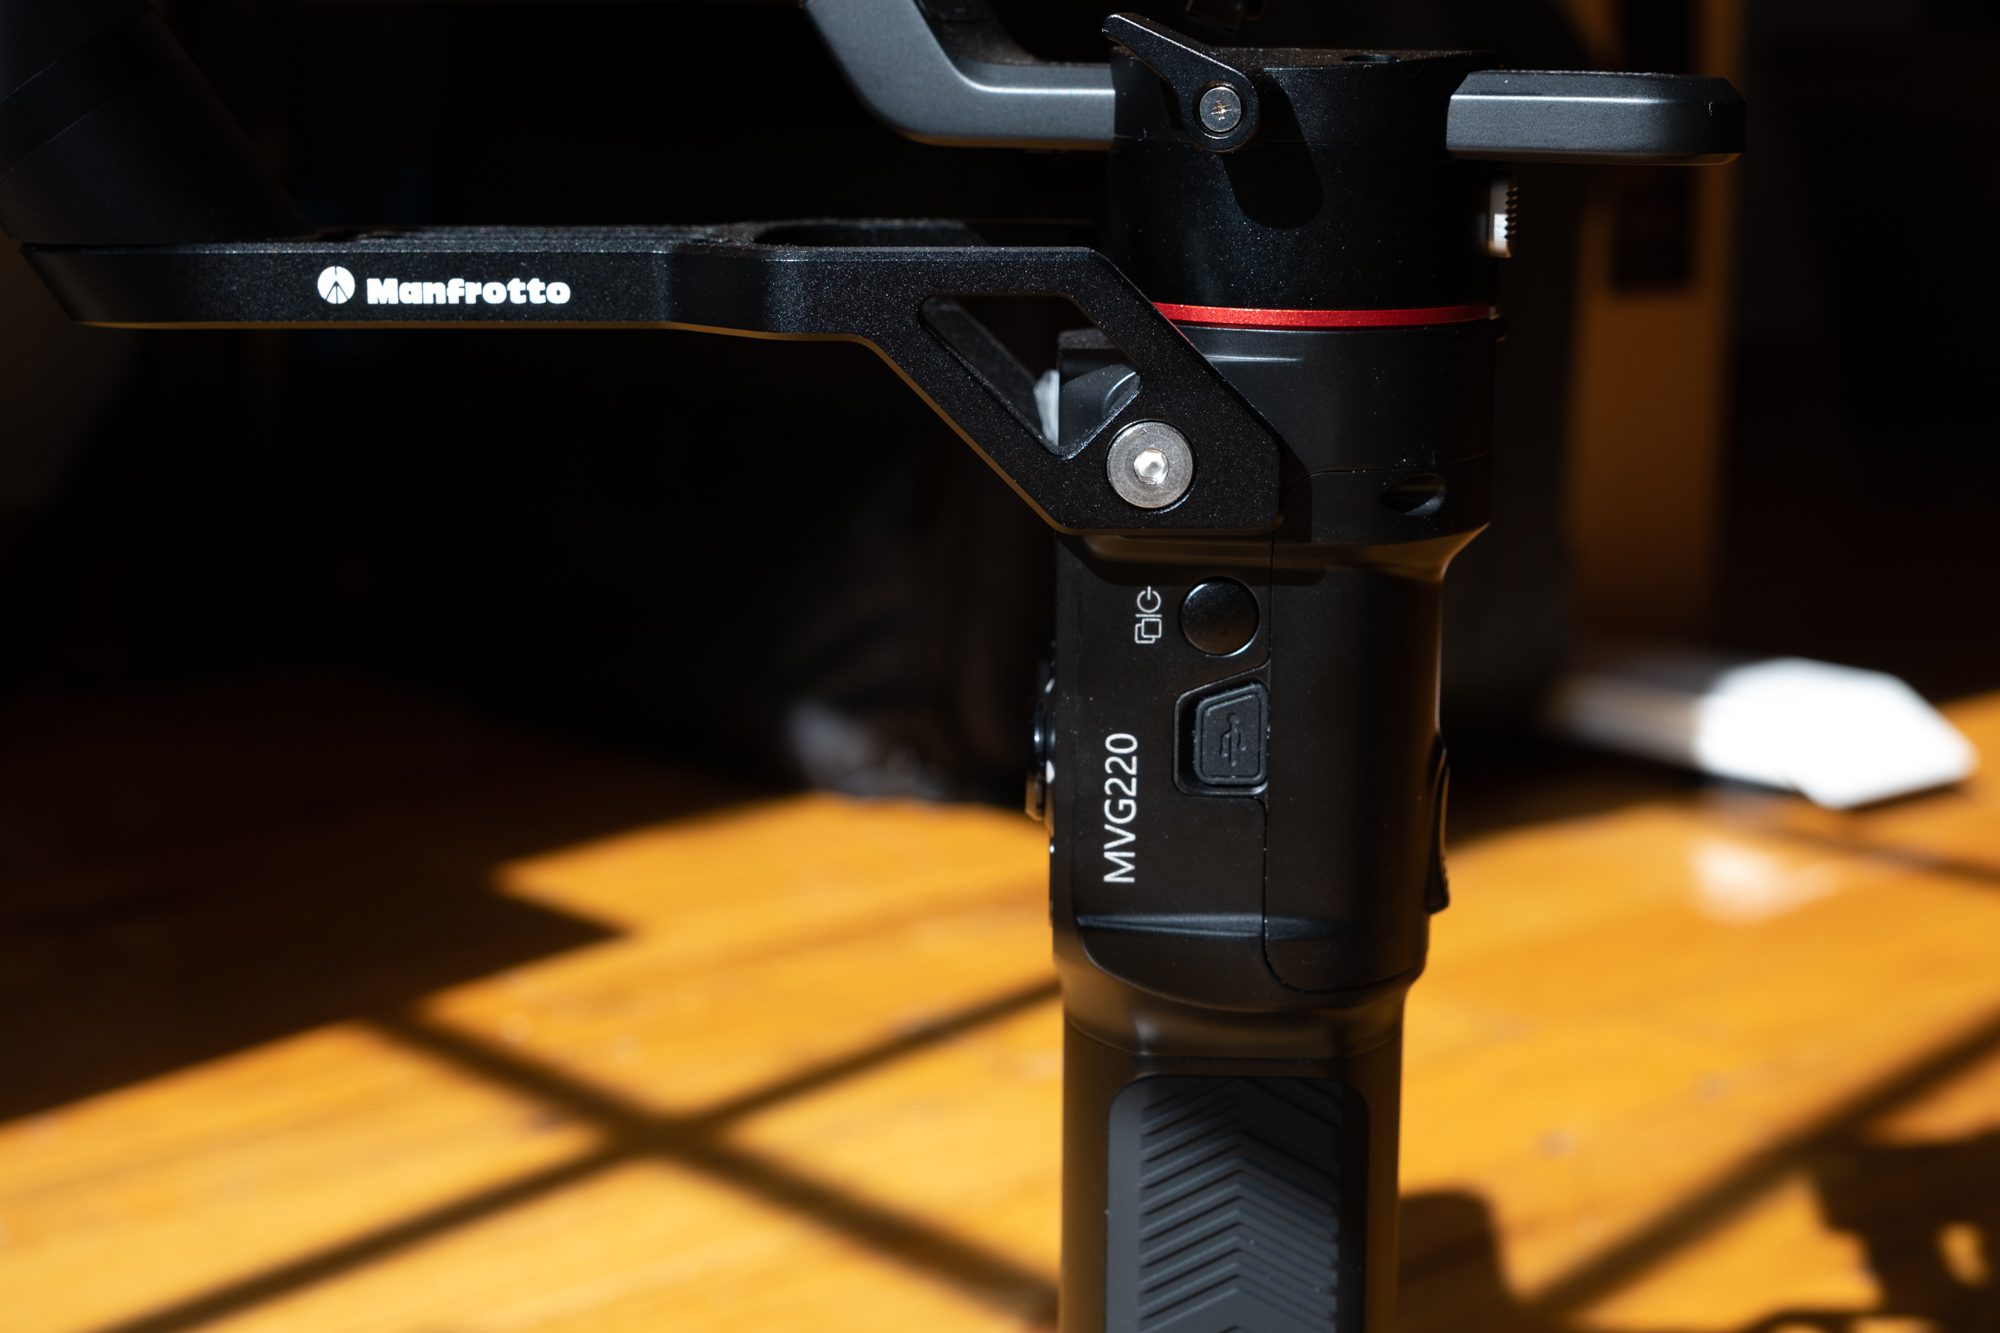
The Manfrotto MVG220 (MV220 from here on out) is a reasonably sturdy piece of gear that feels quite comfortable in the hand. The nearly all-metal build means that you never quite worry that your very, very expensive gear that’s dangling in the air is ever in any danger. The rubberized grip and tripod legs (attachment) add additional confidence that you’re working on a sturdy, stable platform.

The MVG200 has touch functions on its large LCD screen which are intuitive enough and the thumbstick, dial, and front trigger are all very responsive and allow for smooth motion throughout the range of the gimbal. That said, there were a couple pain points specifically the plastic locks which would sometimes disengage while in transit. Additionally, the “briefcase” handle that can be attached is great to work with but requires having a hex key handy if you want to attach and detach from the gimbal.

The Gimboom is equally well made – its carbon fiber barrel helps keep the weight down without having to sacrifice capacity. The boom’s fast lock system is a well-thought-out system to get you set up quickly and keep on shooting. I found the rubberized grip to be comfortable for long-term use, keeping everything securely in hand. There’s not much else to add here – if you need the extra reach, the Gimboom is designed to pair with the MVG220, so get that if you need it.
Real-World Testing

The first thing that needs to be said is that the initial setup for this gimbal can be a little taxing due to the very tight adjustment plates throughout the gimbal’s axis. This made the initial balancing of my camera(s) a bit of a pain, each adjustment feeling forced and giving either way too one way or not nearly enough the other. The included instructions were also lacking – never quite conveying what the user should be doing to make these fine-tuned adjustments. Thankfully, living in today’s YouTube-connected world you can easily pull up a how-to video (even Manfrotto has one). So, if you’re a visual learner like myself, you might want to skip the manual and go straight to YouTube.
During my review period, I took up a “job” with my church to help document their community service department’s clothing drive for the Atlantic Avenue Men’s Shelter in Brooklyn, NY. While I had tested the gimbal – mostly walking up and down the steps and in the neighborhood – having a full day of shooting planned is another beast entirely. This allowed me to put as many of the features as I could to a real-world test that wasn’t just staged shots around the house. The difference between using on-the-job and “just trying things out” really makes a difference.
Working on the event, I realized that the bit of practice in the days leading up to the actual event was well worth it. While the gimbals controls are straightforward and intuitive, the biggest hurdle to jump is proper form and technique. For this job I was using the Fujifilm X-T2, which doesn’t allow for camera operation from the gimbal’s control but still found it a boon especially when lining up overhead shots and cinematic pans.
Using the MGV220 with a fully/more compatible device also changes the experience (as you’d expect). When paired with the Fujifilm X-S10, having the ability to use the gimbal’s trigger functions makes setting up shots and controlling the final product more of a joy. Although not explicitly on their compatibility chart, I did find the remote functions to work using the 2.5mm dongle. Using the MVG220 with my Sony a7 III, I found the ability to trigger some of the camera’s controls within the gimbal’s app was the way to go as the ability to trigger video recording is not supported via the wired connection – sad really.
The Verdict

As I had previously mentioned, I’ve long considered adding videography into my professional bag of tricks but realized that a lot of the equipment that I thought I needed was out of my reach – until now. The Manfrotto MVG220 is an overall, well-built gimbal with plenty of bells and whistles (wired and wireless triggers, “scenes” like Inception Mode and Time Lapse functions) that are screaming “online content.” The cost of entry is well within reach of anyone that’s really looking to improve their video quality and the stabilizers construction makes it feel premium. There are optional extras such as the Manfrotto Follow Focus accessory and Fast GimBoom Carbon Fiber boom attachment makes it an enticing system to get into. You can pick up the Manfrotto MVG220 for $284 on Amazon.

